

Getting started
What is Inspow?
Introduction to Inspow for users and to the basic concepts of the platform.
Inspow is the platform your organization uses to manage your subscription, your invoices, attendance and, if your organization offers meals, the meal menu. You sign in with your own account and see only what’s yours (and what belongs to the people in your care).
What is the person who receives the service called?
Section titled “What is the person who receives the service called?”It depends on your organization’s sector. You’ll see that name in the app menu:
If you are a mother, father or guardian, the account is yours (you are the User) and your children appear as Beneficiaries of your subscriptions.
Your home screen
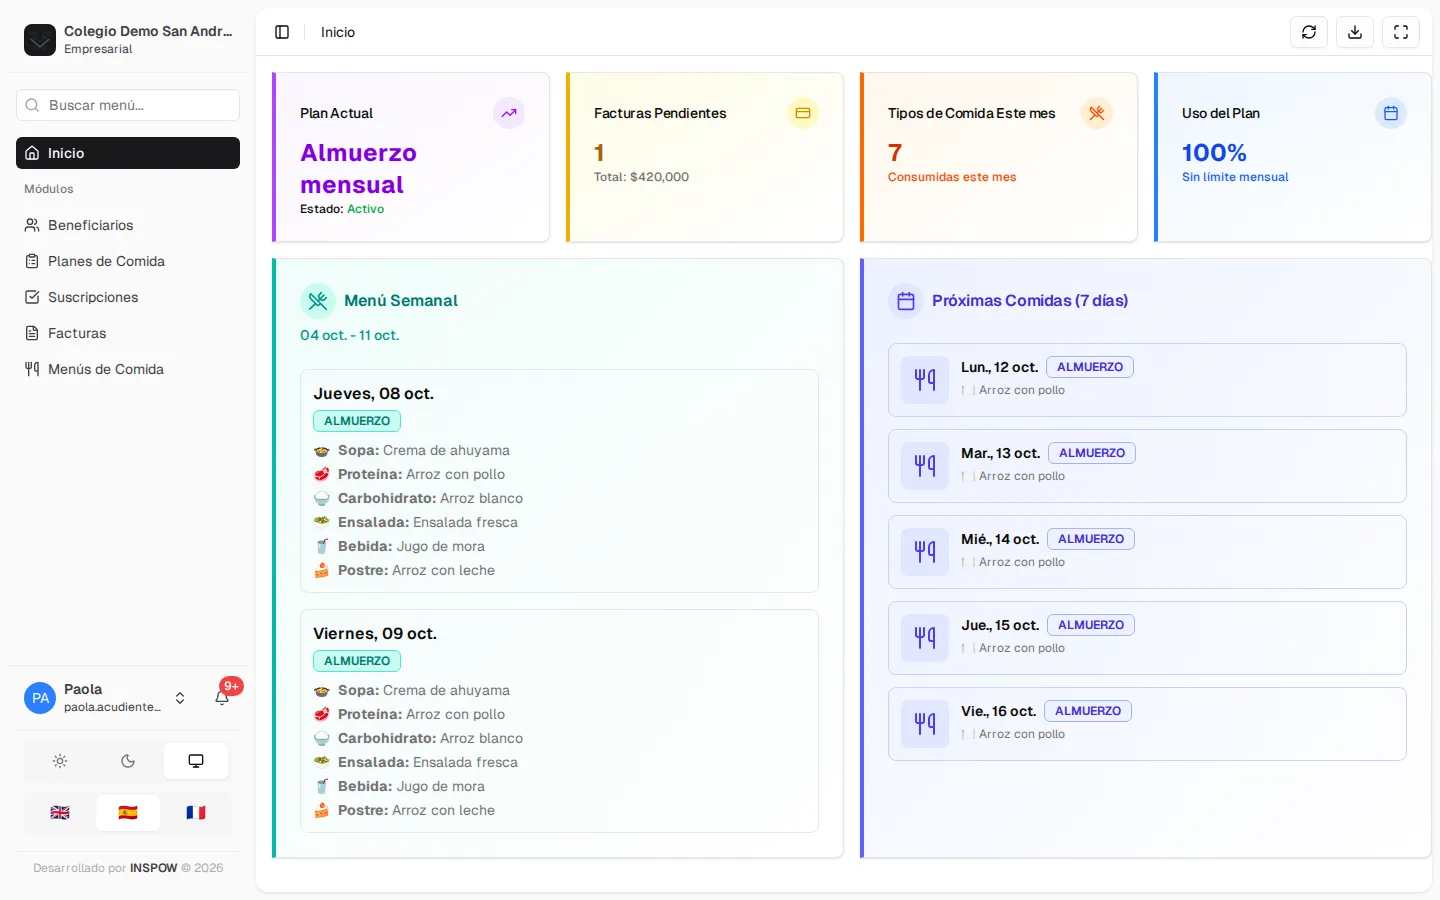
Section titled “Your home screen”When you sign in you land on Home, with a summary of your account: the plan you have, pending invoices, how much you’ve used the service this month and, if applicable, the week’s menu and upcoming meals. On the left is the menu with the sections your organization has enabled for you.
From your phone
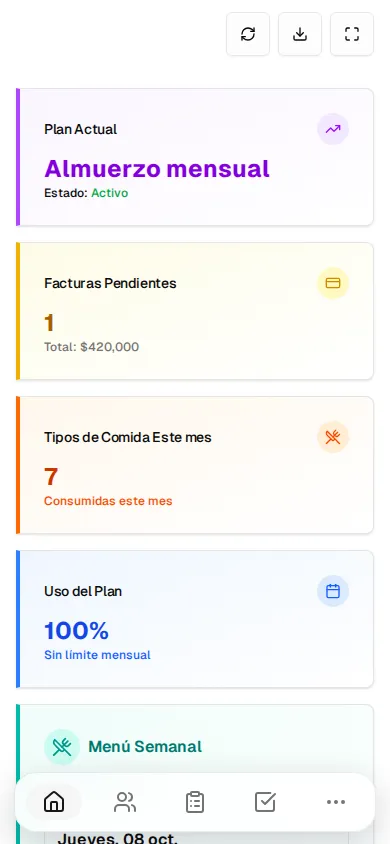
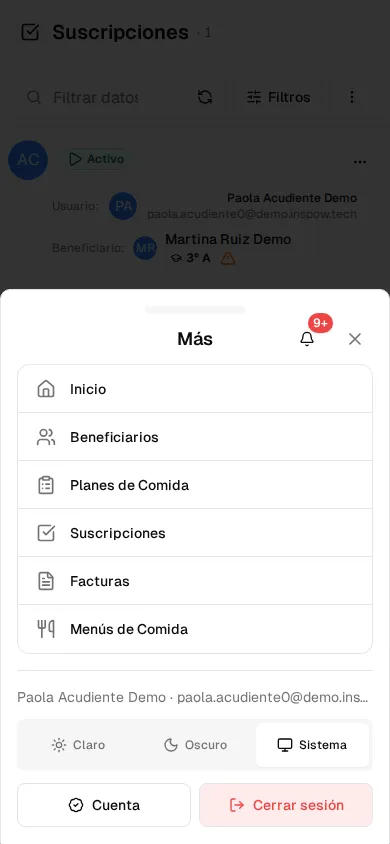
Section titled “From your phone”Inspow works in your phone’s browser. On small screens the menu becomes a bottom bar with shortcuts; the More button (the three dots) opens the full menu, the theme switch and the shortcuts to Account and Sign out.
Basic concepts
Section titled “Basic concepts”| Concept | What it means |
|---|---|
| Organization | The business or institution you belong to (gym, school, clinic…). |
| Plan | The type of service and its price (for example, “Monthly lunch”). |
| Subscription | The plan taken out for you or for a beneficiary, with a start and an end date. |
| Invoice | The charge for each period of your subscription. |
| Attendance Record | The mark of each time the service is used (for example, with the QR code). |
| Notification Channel | How you receive alerts: in the app, by email, by WhatsApp or on your phone. |
What’s next?
Section titled “What’s next?”- Sign in and verify your email.
- Check your subscriptions and your invoices.
- Learn how to register attendance with the QR code.
- Set up your profile and your notification channels.